Press down
Congratulations, you've bought a pair of poles! Here's how to get the most out of your push button poles.
Press the push-pin down to unlock it, you can then slide the rods to adjust them to the correct height for you.

The push-pin system makes your life easier! Roman, our hiking poles engineer, explains how.
Congratulations, you've bought a pair of poles! Here's how to get the most out of your push button poles.
Press the push-pin down to unlock it, you can then slide the rods to adjust them to the correct height for you.
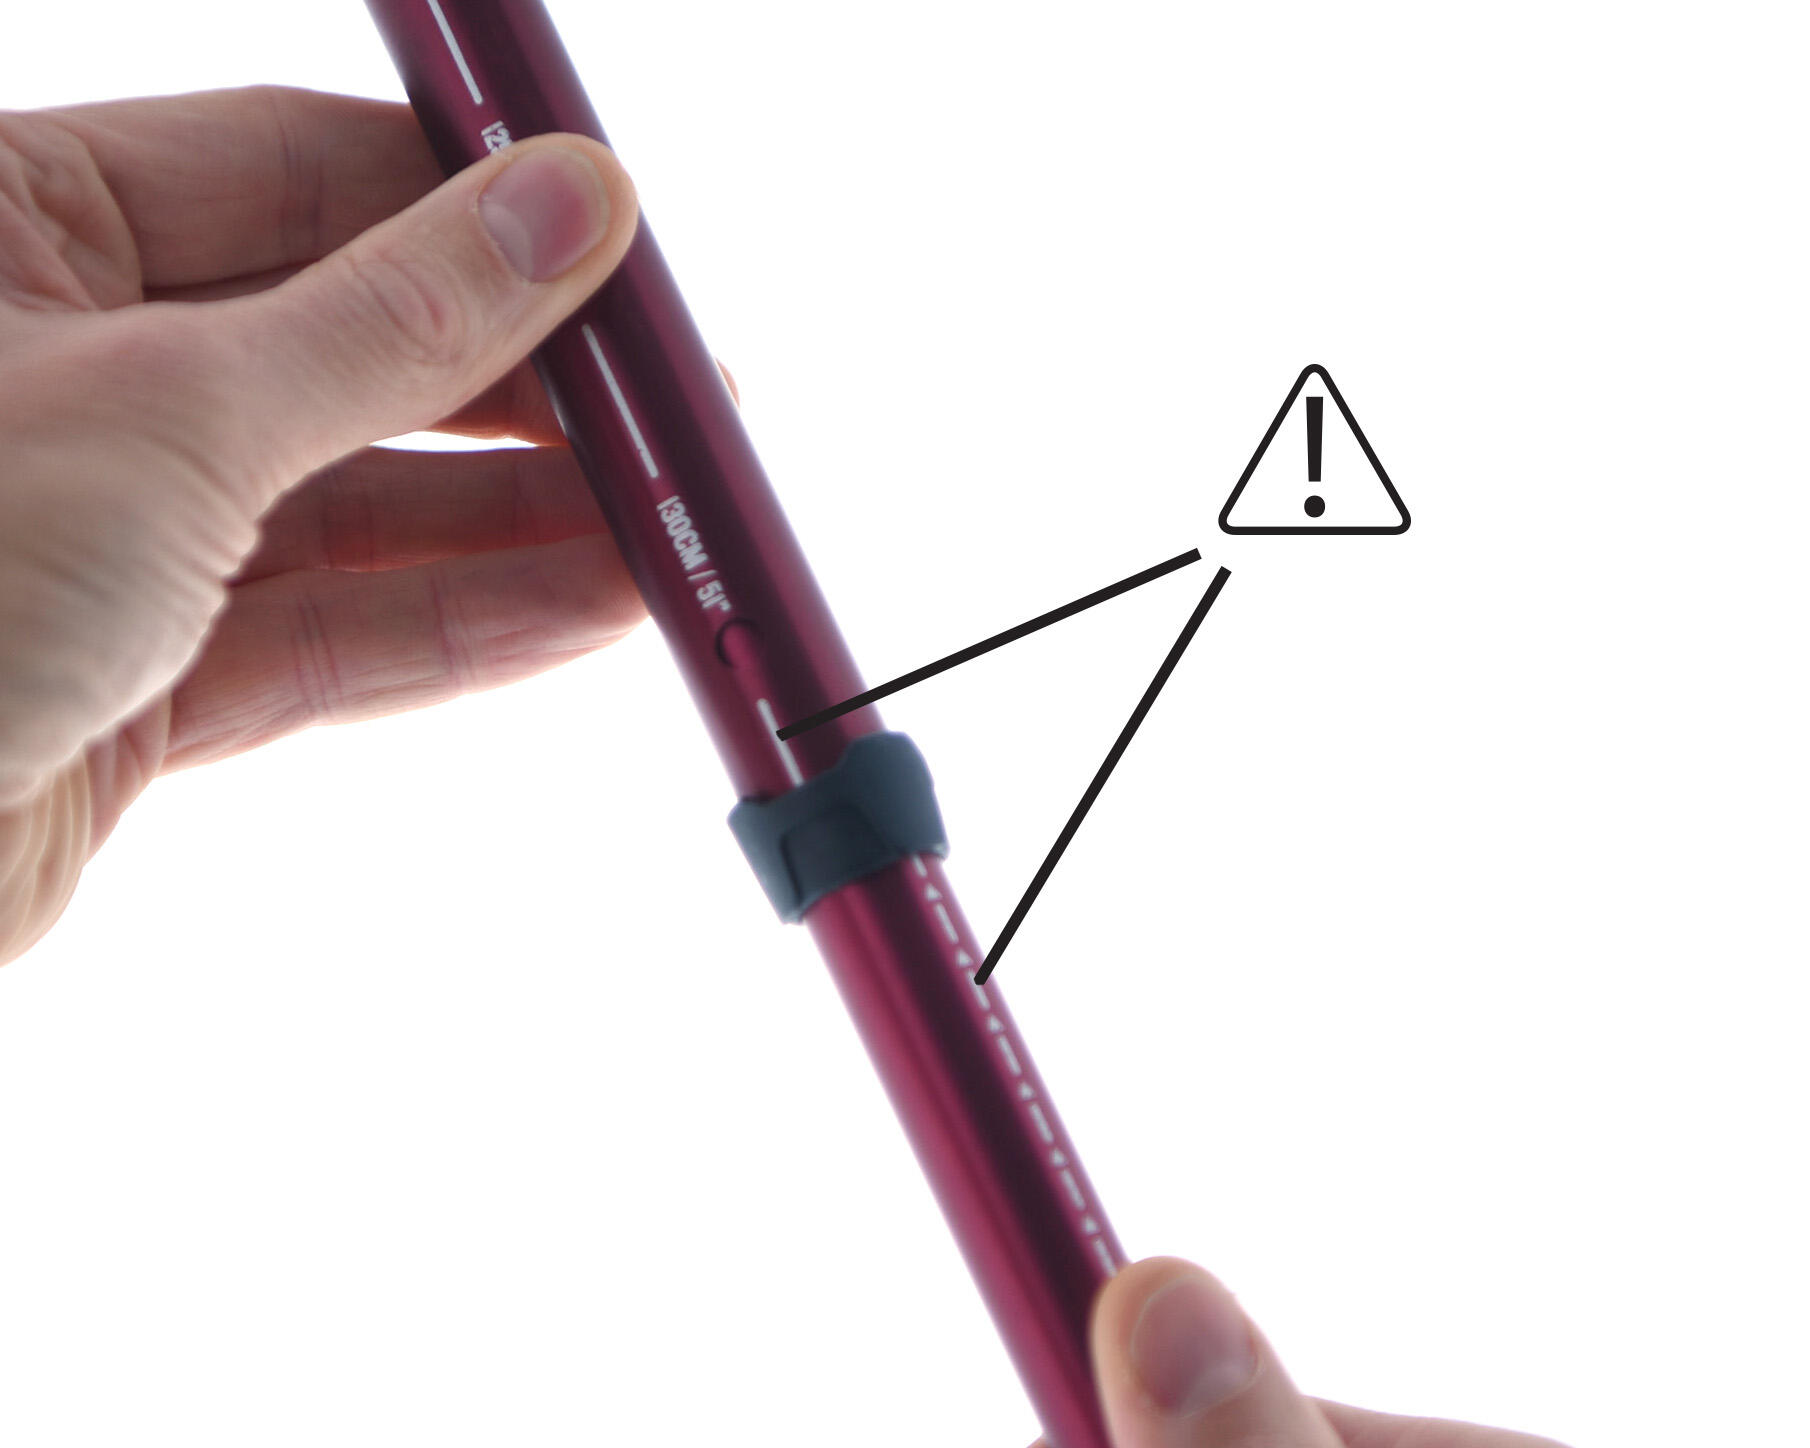
To help you align the push-pin with the holes, you can use the lines on the rods.
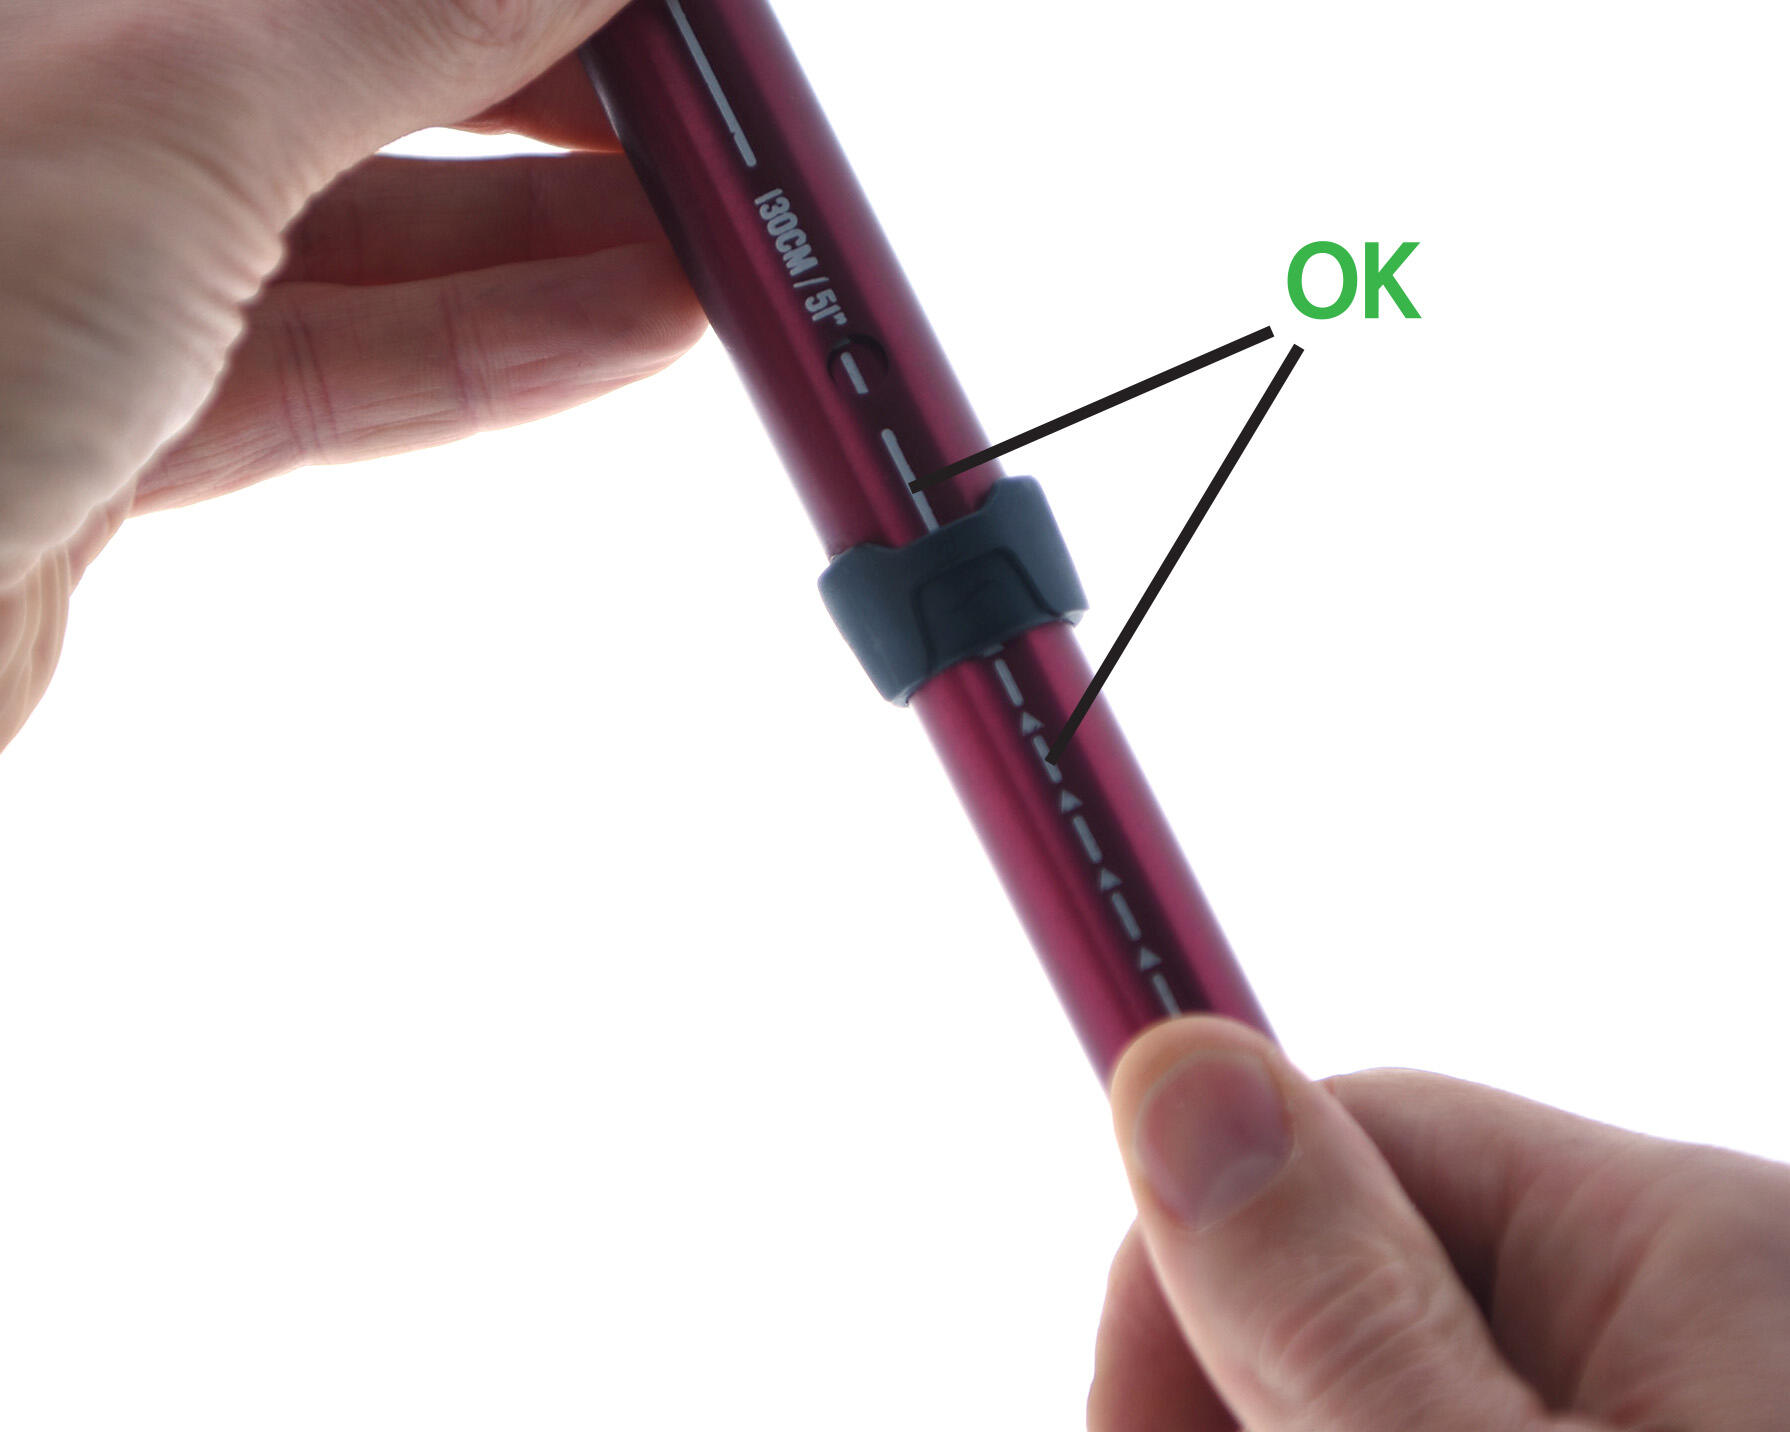
As in the picture above: align the lines with each other.
To find the position of the push-pin between 2 holes more easily, use the arrows that appear in the hole. The direction of the arrow indicates the position of the push-pin with respect to the hole:
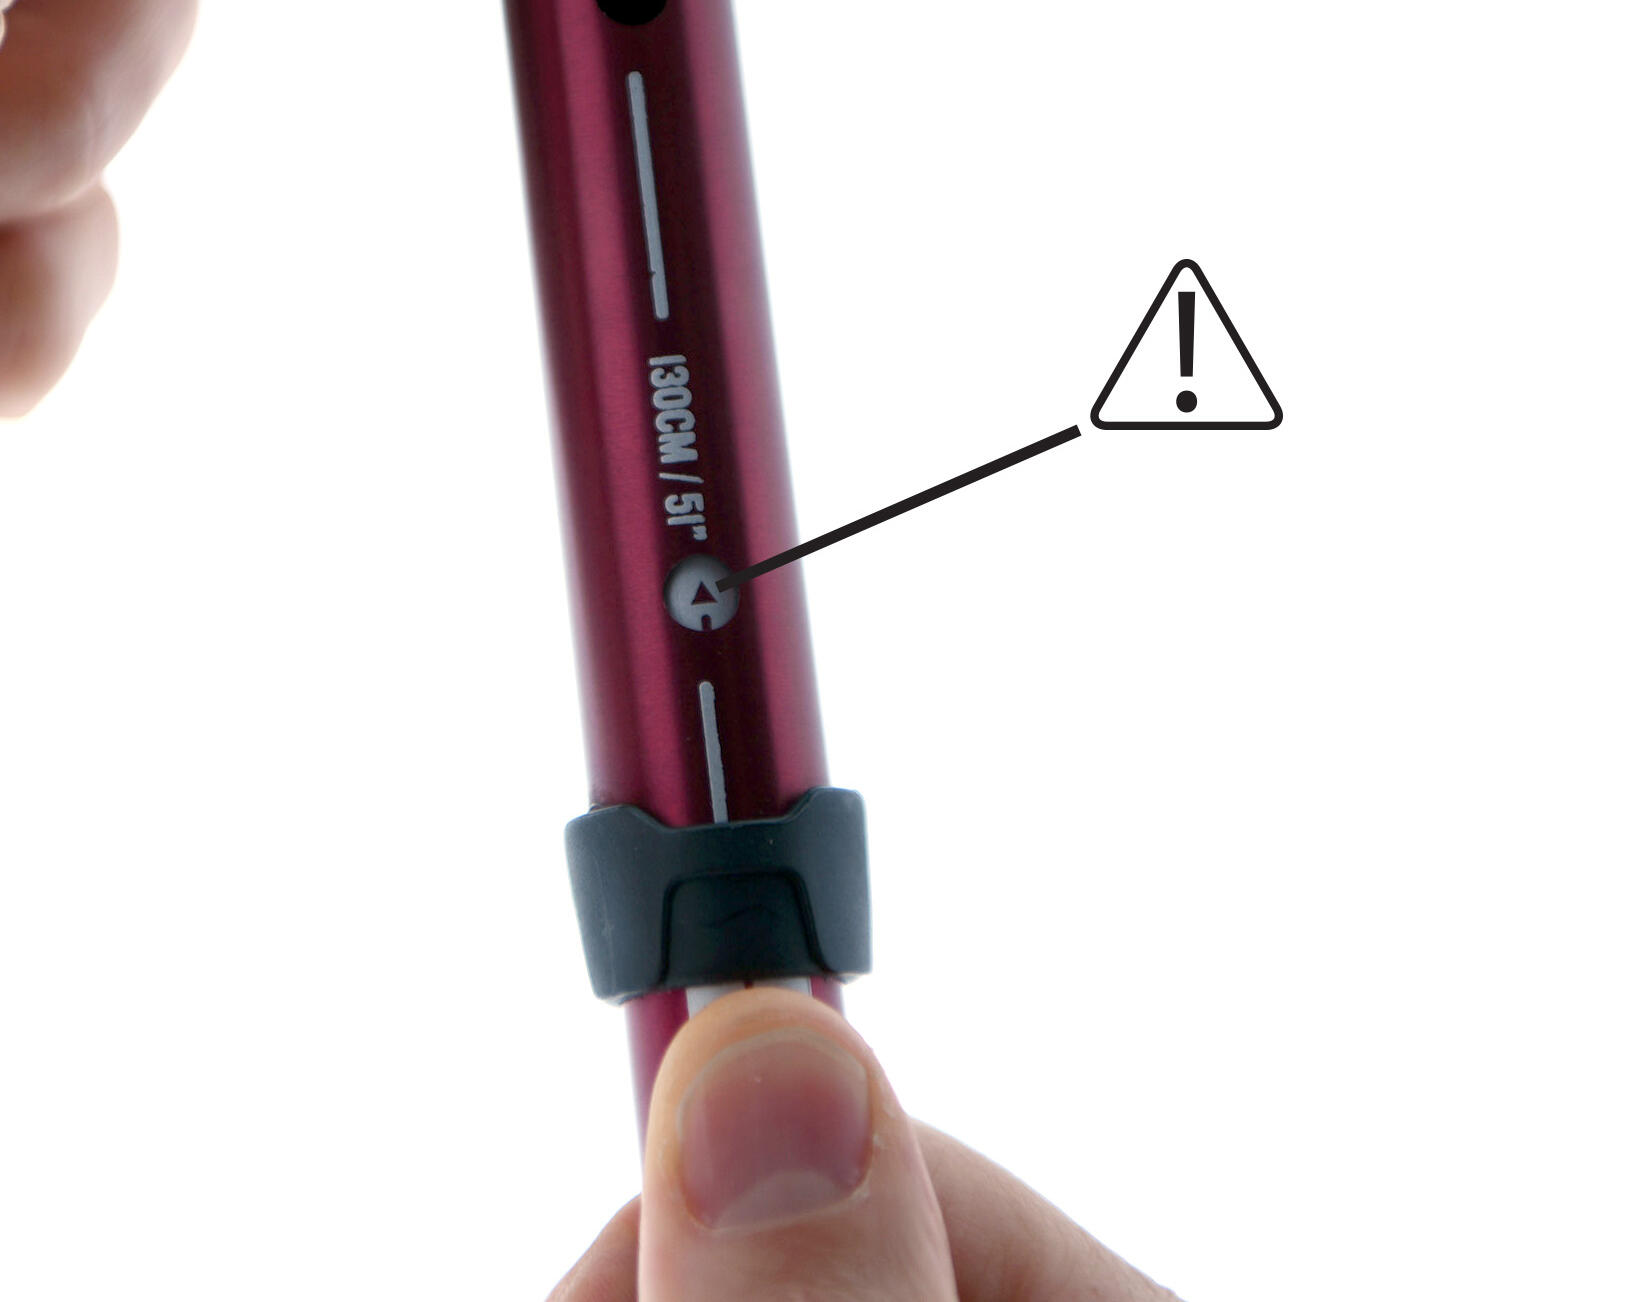
Conversely, if the arrow is upwards, it means that the push-pin is higher than the hole and you have move the rod down for it to come out.
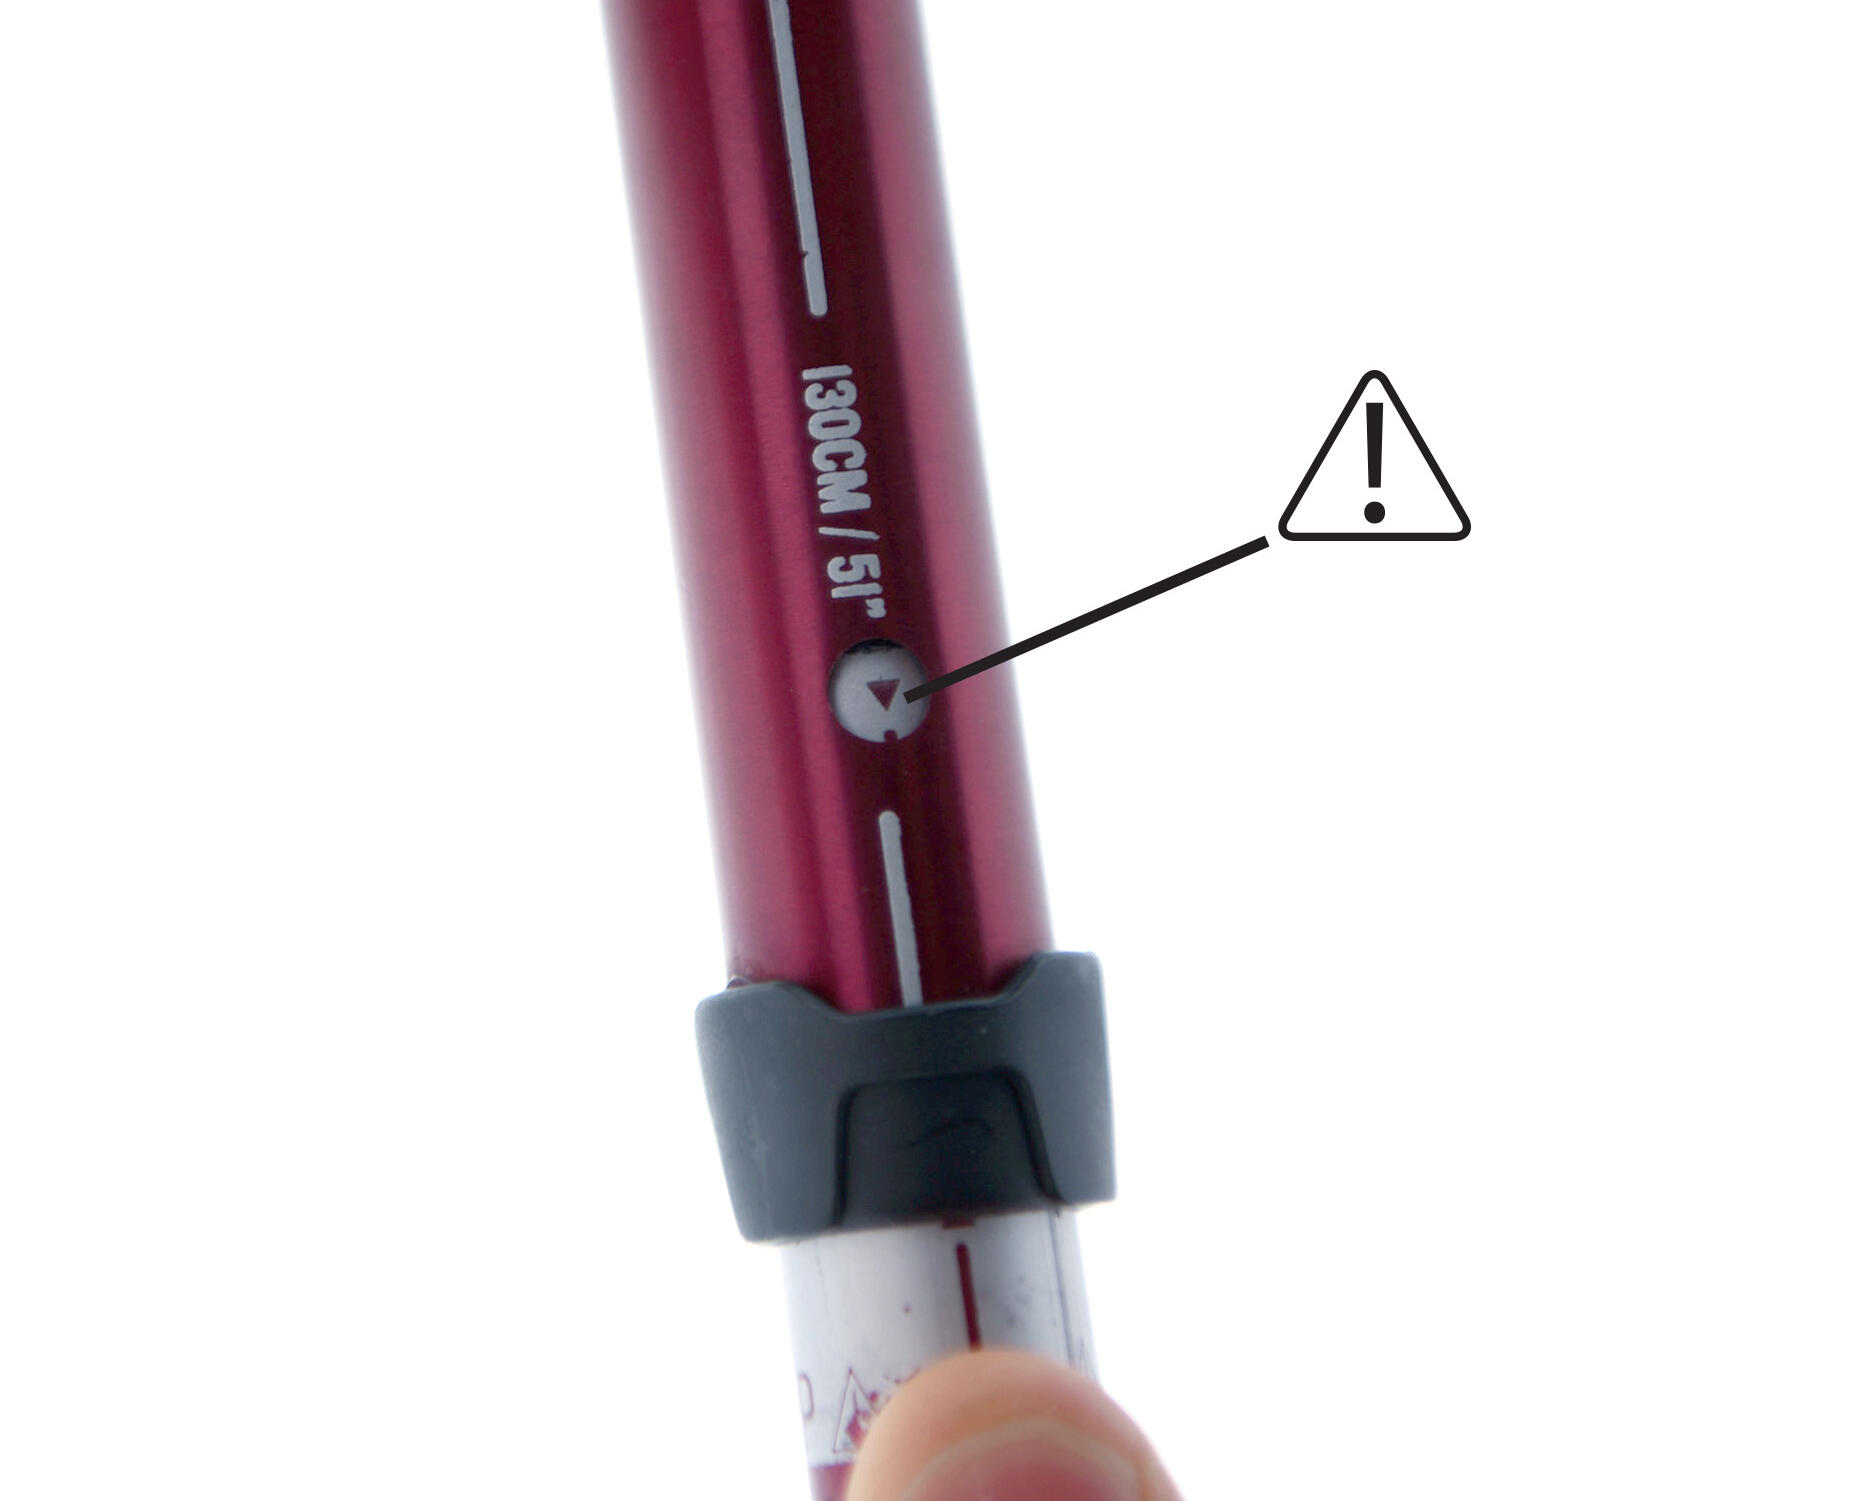
For a given hole if you see an arrow pointing downwards, it means that the push-pin is lower than the hole. you therefore need to move the rod up to push the push-pin into the hole.
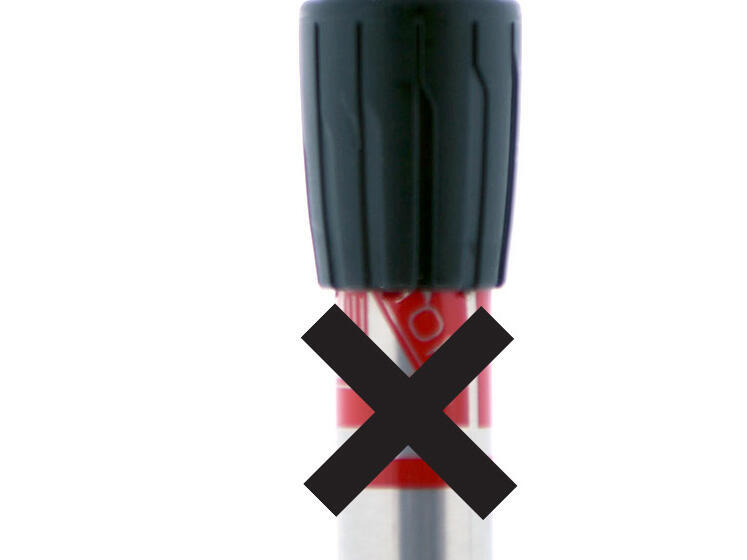
When adjusting the length, do not go beyond the stop line as pictured above. Beyond this limit the pole could snap while in use and you may be injured.
How to use the Push-pin system of your pole properly
If your poles need to be stored in the closet for a prolonged period, (in winter for example), leave the blockers un-screwed. This way you maintain their locking power. And when they get back into use, still make sure they are well adjusted.

Product Engineer at Forclaz